
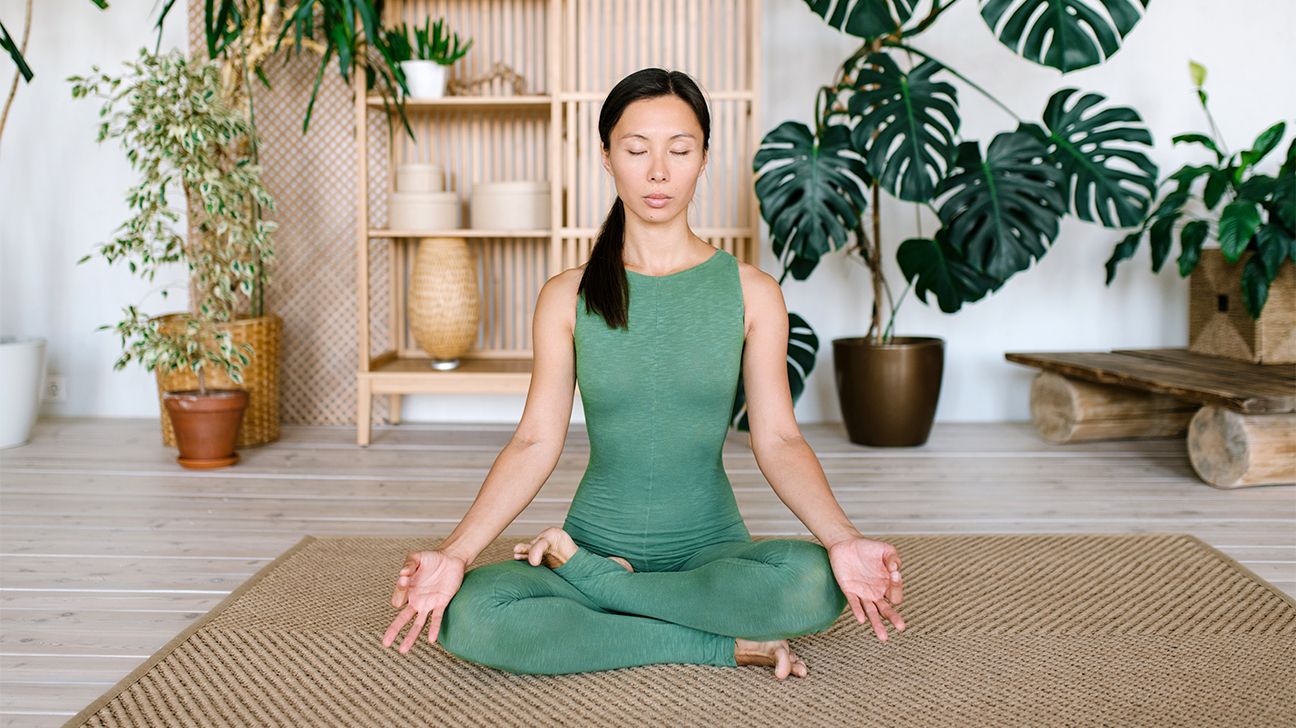
Padmasana, or Lotus Pose, might look familiar. The feet rest on the opposite thighs, while relaxed hands rest on the thighs or knees as the person breathes deeply.
Padmasana and yoga, in general, have real benefits like developing flexibility and reducing inflammation. However, the ability to do Padmasana safely and correctly is a gradual process of developing the flexibility and strength to hold the pose.
Be patient with yourself. Tight hammies might make your back look more like a ball than a nice, straight board, so don’t be discouraged if you can’t fold into this pose right away.
Keep in mind that tight hips can cause pressure to travel to the knees, equaling more pain than the pose itself is worth. If you have knee problems, this might not be the right meditative pose for you.
Padmasana isn’t a pose to jump into right away. Listen to your body, and be slow and methodical as you go through each step.
- Sit on your yoga mat with your legs out in front of you, also known as Dandasana or Staff Pose. Keep your spine tall, straight, and erect.
- Bend your right knee and place your right foot on your left thigh with the sole of your foot facing upward. Your hip should rotate externally to help the knee fall open. Keep your left leg straight out in front of you while you find a comfortable position for the right foot.
- Bend your left knee and place your left foot on your right thigh with the sole of your foot facing upward. Your left shin should cross over your right shin, and you should feel your inner thighs lengthening toward your knees.
- Place your hands gently on your knees in a relaxed position with palms facing upward.
- Keep your spine straight with the sit bones grounded, and breathe deeply.
- You’re there! Take 10 deep breaths (more if you want).
Tight hips, hammies, and lower back could all get in the way of a comfortable Padmasana. This isn’t a pose you want to force, especially if you have knee problems.
The National Center for Complementary and Integrative Health (NCCIH) recommends that yoga newbies avoid Lotus Pose to reduce the chance of injury. Inflexibility (and inexperience) can put undue stress on the knees, injuring ligaments and other soft tissues.
Try not to be hard on yourself if others are folding like Gumby. There’s a wide range of motion and flexibility in the hips and knees that are considered normal. We’re not all made of rubber, and that’s OK. Work with what you’ve got.
For some people, a modified Padmasana or half-Lotus (Ardha Padmasana) might be more doable. In half-Lotus (vs. full-Lotus), you place one foot on top of the opposite thigh and the other underneath the opposite thigh.
There’s less stress on the knees, hips, and back. You can stick with this easier pose or slowly work your way into full-Lotus as the muscles and ligaments stretch and strengthen over time.
Lotus posture’s benefits start with flexibility in the glutes, thighs, inner thighs, and ankles. A small study found evidence of improved strength and balance, too. Flexibility, balance, and strength improve with time and practice, so don’t expect instant results.
Lotus pose is usually used as part of meditation. When you add that into the mix, you’ve got benefits that stem from general yoga and meditation. There’s potential for:
Padmasana stretches the hips, thighs, ankles, and lower back and it’s often used as part of a deep breathing, meditative practice. Don’t push the body to perform this pose if it’s uncomfortable.
The benefits: There’s potential for better sleep, less stress, a better handle on anxiety, and decreased blood pressure. Take your time and enjoy some deep breathing in this grown-up version of crisscross applesauce.